
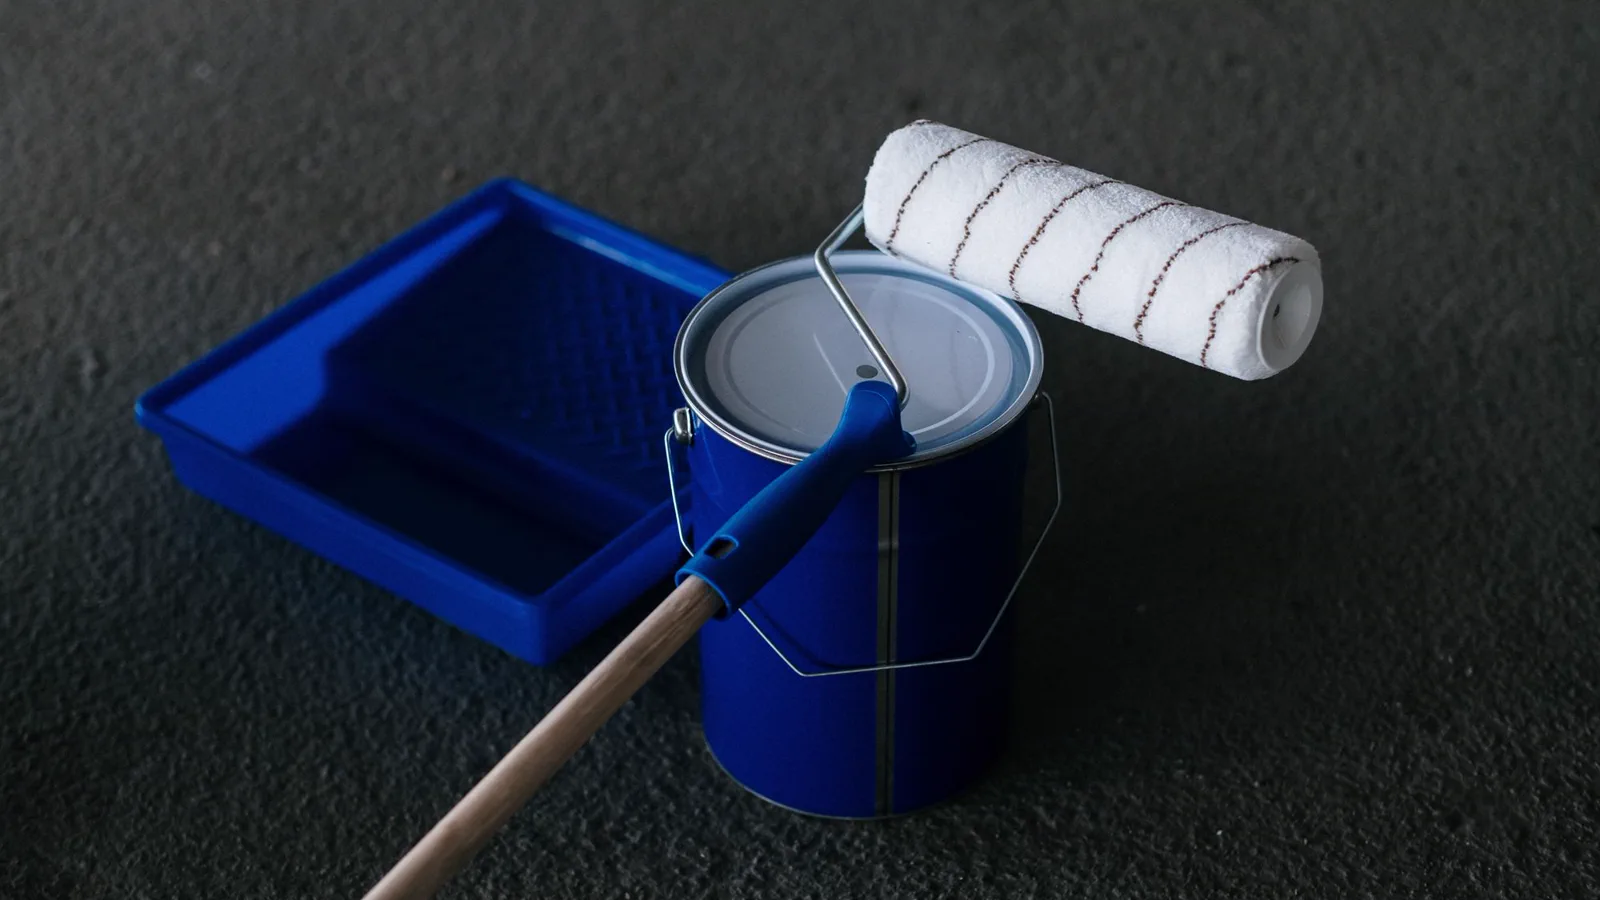
Interior painting is the work of preparing and painting the surfaces inside a house, mainly walls, ceilings, doors, window frames and skirting boards. It covers the repairs, sanding and priming that come before the paint, as well as the coats themselves.
Done well, a room ends up clean, even and easy to wash. Done badly, the paint marks, peels or lets old stains show through within a season. Most of that difference comes from the preparation, not the paint in the tin.
What does interior painting include?
Interior painting includes every painted surface inside the home, plus the preparation that lets the paint stick. In a typical Auckland house that means walls and ceilings first, then the woodwork: doors, door frames, window frames, sills, skirting boards and architraves. Cupboards, shelves and stair rails often get included too.
The preparation is a real part of the job. It usually means filling nail holes and dents, scraping loose paint, sanding the surface smooth, washing off grease and dust, and covering floors and furniture. Cracks along plasterboard joints get filled and sanded. Gaps between skirting and wall get sealed so the finished line looks sharp.
Many people think painting is mostly rolling and brushing. In a well run job, the painting itself is often the shorter part.
How is interior paint different from exterior paint?
Interior paint is made to be washable and low in smell, while exterior paint is made to cope with sun, rain and temperature swings. They are not interchangeable. Exterior paint is built to stay flexible outdoors, and it is not designed for the rooms you live in.
Inside, the paint does not face weather, but it does face fingerprints, steam, cooking splashes and the knocks of daily life. Paint makers such as Resene publish guidance for homeowners on matching the paint type to the room and the surface, and it is worth reading before you buy.
Water based paints are the usual choice indoors. They dry quickly, clean up with water and give off less smell than oil based products.
What are the steps in painting a room?
A room is painted in a set order, and the order matters. Ceilings go first so drips do not land on finished walls. Walls come next, then the trim, doors and window frames last.
A sensible sequence looks like this:
- Clear the room, or move furniture to the middle and cover it.
- Fill holes and cracks, then sand them smooth once dry.
- Wash or wipe down the surfaces, especially around switches, kitchens and door frames.
- Spot prime repairs, stains and bare patches so they do not show through.
- Apply the first coat, let it dry, lightly sand if needed, then apply the second.
- Remove the masking while the last coat is still slightly soft so the edge stays clean.
Drying times matter more than people expect. Rushing the second coat onto a damp first coat leaves streaks and weak spots. Cool, damp Auckland days slow things down, so a room that dries in an afternoon in February may need much longer in July.
Which paint finish should go on which surface?
Flat finishes suit ceilings and low traffic walls, while glossier finishes suit doors, trim and wet areas. The shinier a paint is, the easier it is to wipe clean, but the more it shows bumps and uneven patches in the wall underneath.
Here is the rough guide most painters work from:
- Ceilings usually get a flat or matt paint, which hides small flaws and reduces glare.
- Living room and bedroom walls suit matt or low sheen, which looks soft and forgives flaws.
- Kitchens, bathrooms, hallways and kids' rooms suit low sheen or semi gloss, which wipes clean.
- Doors, skirting boards and window frames suit semi gloss or gloss, which holds up to knocks and scuffs.
Colour is a separate choice. A sample pot on the wall, checked in daylight and again under lamplight, tells you more than a small chip card. Colour can look quite different on a north facing wall compared with a south facing one.
How many coats does a room need?
Most rooms need a primer or undercoat where the surface is bare or stained, then two coats of the finish colour. A single coat rarely gives an even result, even when the tin says it covers well.
Going from a dark colour to a light one, or painting over a strong stain, can need extra coats. Fresh plasterboard, new filler and bare timber all soak up paint unevenly, so they need priming first. Skipping the primer on repairs is one of the most common reasons a freshly painted wall looks patchy in the afternoon sun.
Is there lead paint in older Auckland houses?
It can be. Houses built before the 1980s may have lead in the old layers of paint, especially on doors, window frames and skirting boards. This matters because sanding or scraping old paint creates dust that is harmful to breathe, particularly for children and pregnant women.
Many Auckland villas and bungalows have been repainted many times, so the oldest layers sit well under the surface. WorkSafe is a sensible place to start for safety information if you plan to scrape or sand a house of that age.
A paint test kit from a hardware store gives a first indication. If the result points to lead, do not dry sand. Wet methods, careful cleaning and good dust control matter much more than speed.
Can you paint over mould or damp patches?
You can, but the paint will not hold if the cause is still there. Mould and damp patches come back through the new paint unless you deal with the moisture first.
Auckland's humid summers make mould common on shaded walls, in bathrooms and behind furniture pushed against south facing outside walls. Poor airflow, a leak, or condensation on cold surfaces are the usual causes. BRANZ publishes research on moisture and ventilation in New Zealand homes, which is a good background read.
A simple check is to press the back of your hand against an outside wall in the morning. If it feels cold and damp, or you see black spotting along the corners, fix the moisture first. Then wash the mould off, let the wall dry fully, and use a stain blocking primer before the colour goes on.
What affects the cost of interior painting?
The cost of interior painting depends on the size of the job, the condition of the surfaces and how much preparation they need. We do not give figures here, because every house is different and a number without seeing the rooms would be a guess.
These are the things that move the price most:
- Size. More rooms and higher ceilings take more time and more paint. Stud heights in older villas can be much taller than in newer homes.
- Condition. Cracked plaster, peeling paint, stains and old wallpaper residue all add preparation time.
- Coats. A big colour change, or paint over a dark colour, can mean extra coats.
- Access. Stairwells, tall ceilings and rooms full of furniture take longer to work around.
- Repairs found. Soft timber or old damage often turns up once the old paint is off, and fixing it takes extra time.
When you compare people to do the work, ask what is included, in writing. That means preparation, number of coats, who supplies the paint, and whether moving furniture and cleaning up are covered. Our house painting cost guide explains how these factors add up across a whole house.
When is the best time of year to paint inside in Auckland?
Late spring through autumn is the easiest time, because paint dries faster and you can open windows to ventilate. Indoor painting can be done in winter, but damp air slows drying and can leave a tacky finish if the room is shut up.
Open the windows on dry days, run a dehumidifier if you have one, and give each coat plenty of time. If you are also thinking about the outside, our post on how often to repaint a house in Auckland explains how the seasons affect that work.
Do you need consent to paint inside?
Usually not. Plain painting and decorating generally does not need building consent, but removing walls or changing wet areas can.
The building.govt.nz guide to consent sets out the basics, and it is worth a look before any job that goes beyond paint.
When should you get a professional?
A handy homeowner can paint a bedroom or a small room well, and plenty do. A professional makes sense when the job is bigger, higher, older or more complicated than a weekend of rolling.
Doing it yourself works well when the walls are in good condition, the ceilings are standard height, and you have time to prepare properly and let each coat dry. Cutting in neat edges takes practice, but it improves quickly.
Get help when:
- the house was built before the 1980s and you will be scraping or sanding old paint
- there are high stud ceilings, stairwells or long runs that need scaffolding or tall ladders
- you are finding damp, soft timber or repeated mould
- you want sharp, even finishes on doors, trim and kitchen cupboards
- you are painting several rooms and want the job done quickly
Our painting service covers interior painting, and we also do carpentry, which helps when trim has rotted or timber has gone soft. Photos of the rooms are a good way to show what needs doing.
If you are weighing up a repaint, text us the suburb and the job, and we will take it from there.
What we do about this
Want this done on your place?
Text the suburb and what needs doing. Photos help. We will tell you straight what is involved.